Year of the Stitches – Week 3 Pineapple Stitch

The Pineapple Stitch 🍍 

Hello all, I hope everyone has survived the rather windy weather this week. Crikey it’s been windy!!! And now it’s snowing too!!! Definitely nights that require a crochet hook in one hand and a cuppa in the other. Blankets and slipper socks are very close to hand at the minute!!

This week, I was lucky enough to be able to go on a school library trip with my daughter. She was so excited that I could come and be part of her special day. My lovely mother-in-law came and babysat the little man for me, so I was off on a trip with my girl!!!! It was so weird walking to school without the pram. My daughter is such a poppet, she pretended to be the pram so I wouldn’t miss him!! Bless her. So anyways, we headed out in a 60 children caterpillar to the local library, where the children listened to stories and then were able to choose one to take home. The excitement on their little faces when using their library cards, was a picture. They were so well behaved.

The stories they choose varied from fairies to monsters, quests to cars. No one child had the same book. I wonder which books were read that very same night? I know ours was – front to back! We love stories in this house. I just love being carried away into a whole other world of fantasy and fiction. I tend to get carried away in the moment when I read. It’s so magical!! The endless possibilities and the unknown endings – just brilliant!! My Dad once told me that books are like your friends – they are always there to keep you company. It’s so true!! (I always keep my books close by.)

Before my children, I used to read quite a lot, but as our house was starting to look like a book shop, my husband bought me a kindle. (I do buy special books in hard copy though!!) My time to read my own books, is a little bit sparse at the minute, but reading a story book to my children happens quite a few times a day. Some of my all time favourite stories are still my cherished children’s books, such as the Faraway Tree and the Naughtiest Girl in School and the one and only – BFG. Oh and of course the incredible Harry Potter!!!! This particular magical world came into my life when I was at university and I can safely say, it’s never left!! I will never forget being in a fitting room with my sister in law, a couple of days before we went on a family holiday. The cubicle next door were discussing the ending to the fifth Harry Potter book, which I was keeping for the flight!!! Oh my – she very kindly asked them to stop as I was currently in the cubicle next door with my hands over my ears – humming!!! Funny!! She was a life saver!!! So yeah, books are such a big part of our lives. I can’t wait to share these legendary books with my children!!! Yey!!

So this week, I would like to dedicate my colour of yarn to the pages of all those special books. It’s a slightly off white colour, which holds all those precious moving words. So my yarn had to be the beautiful Sublime cashmere/merino wool, which is so beautifully soft and one of my mum’s favourite yarns. It’s a very light cream colour, which also goes well with my Gran’s stunning blue colour from last week.

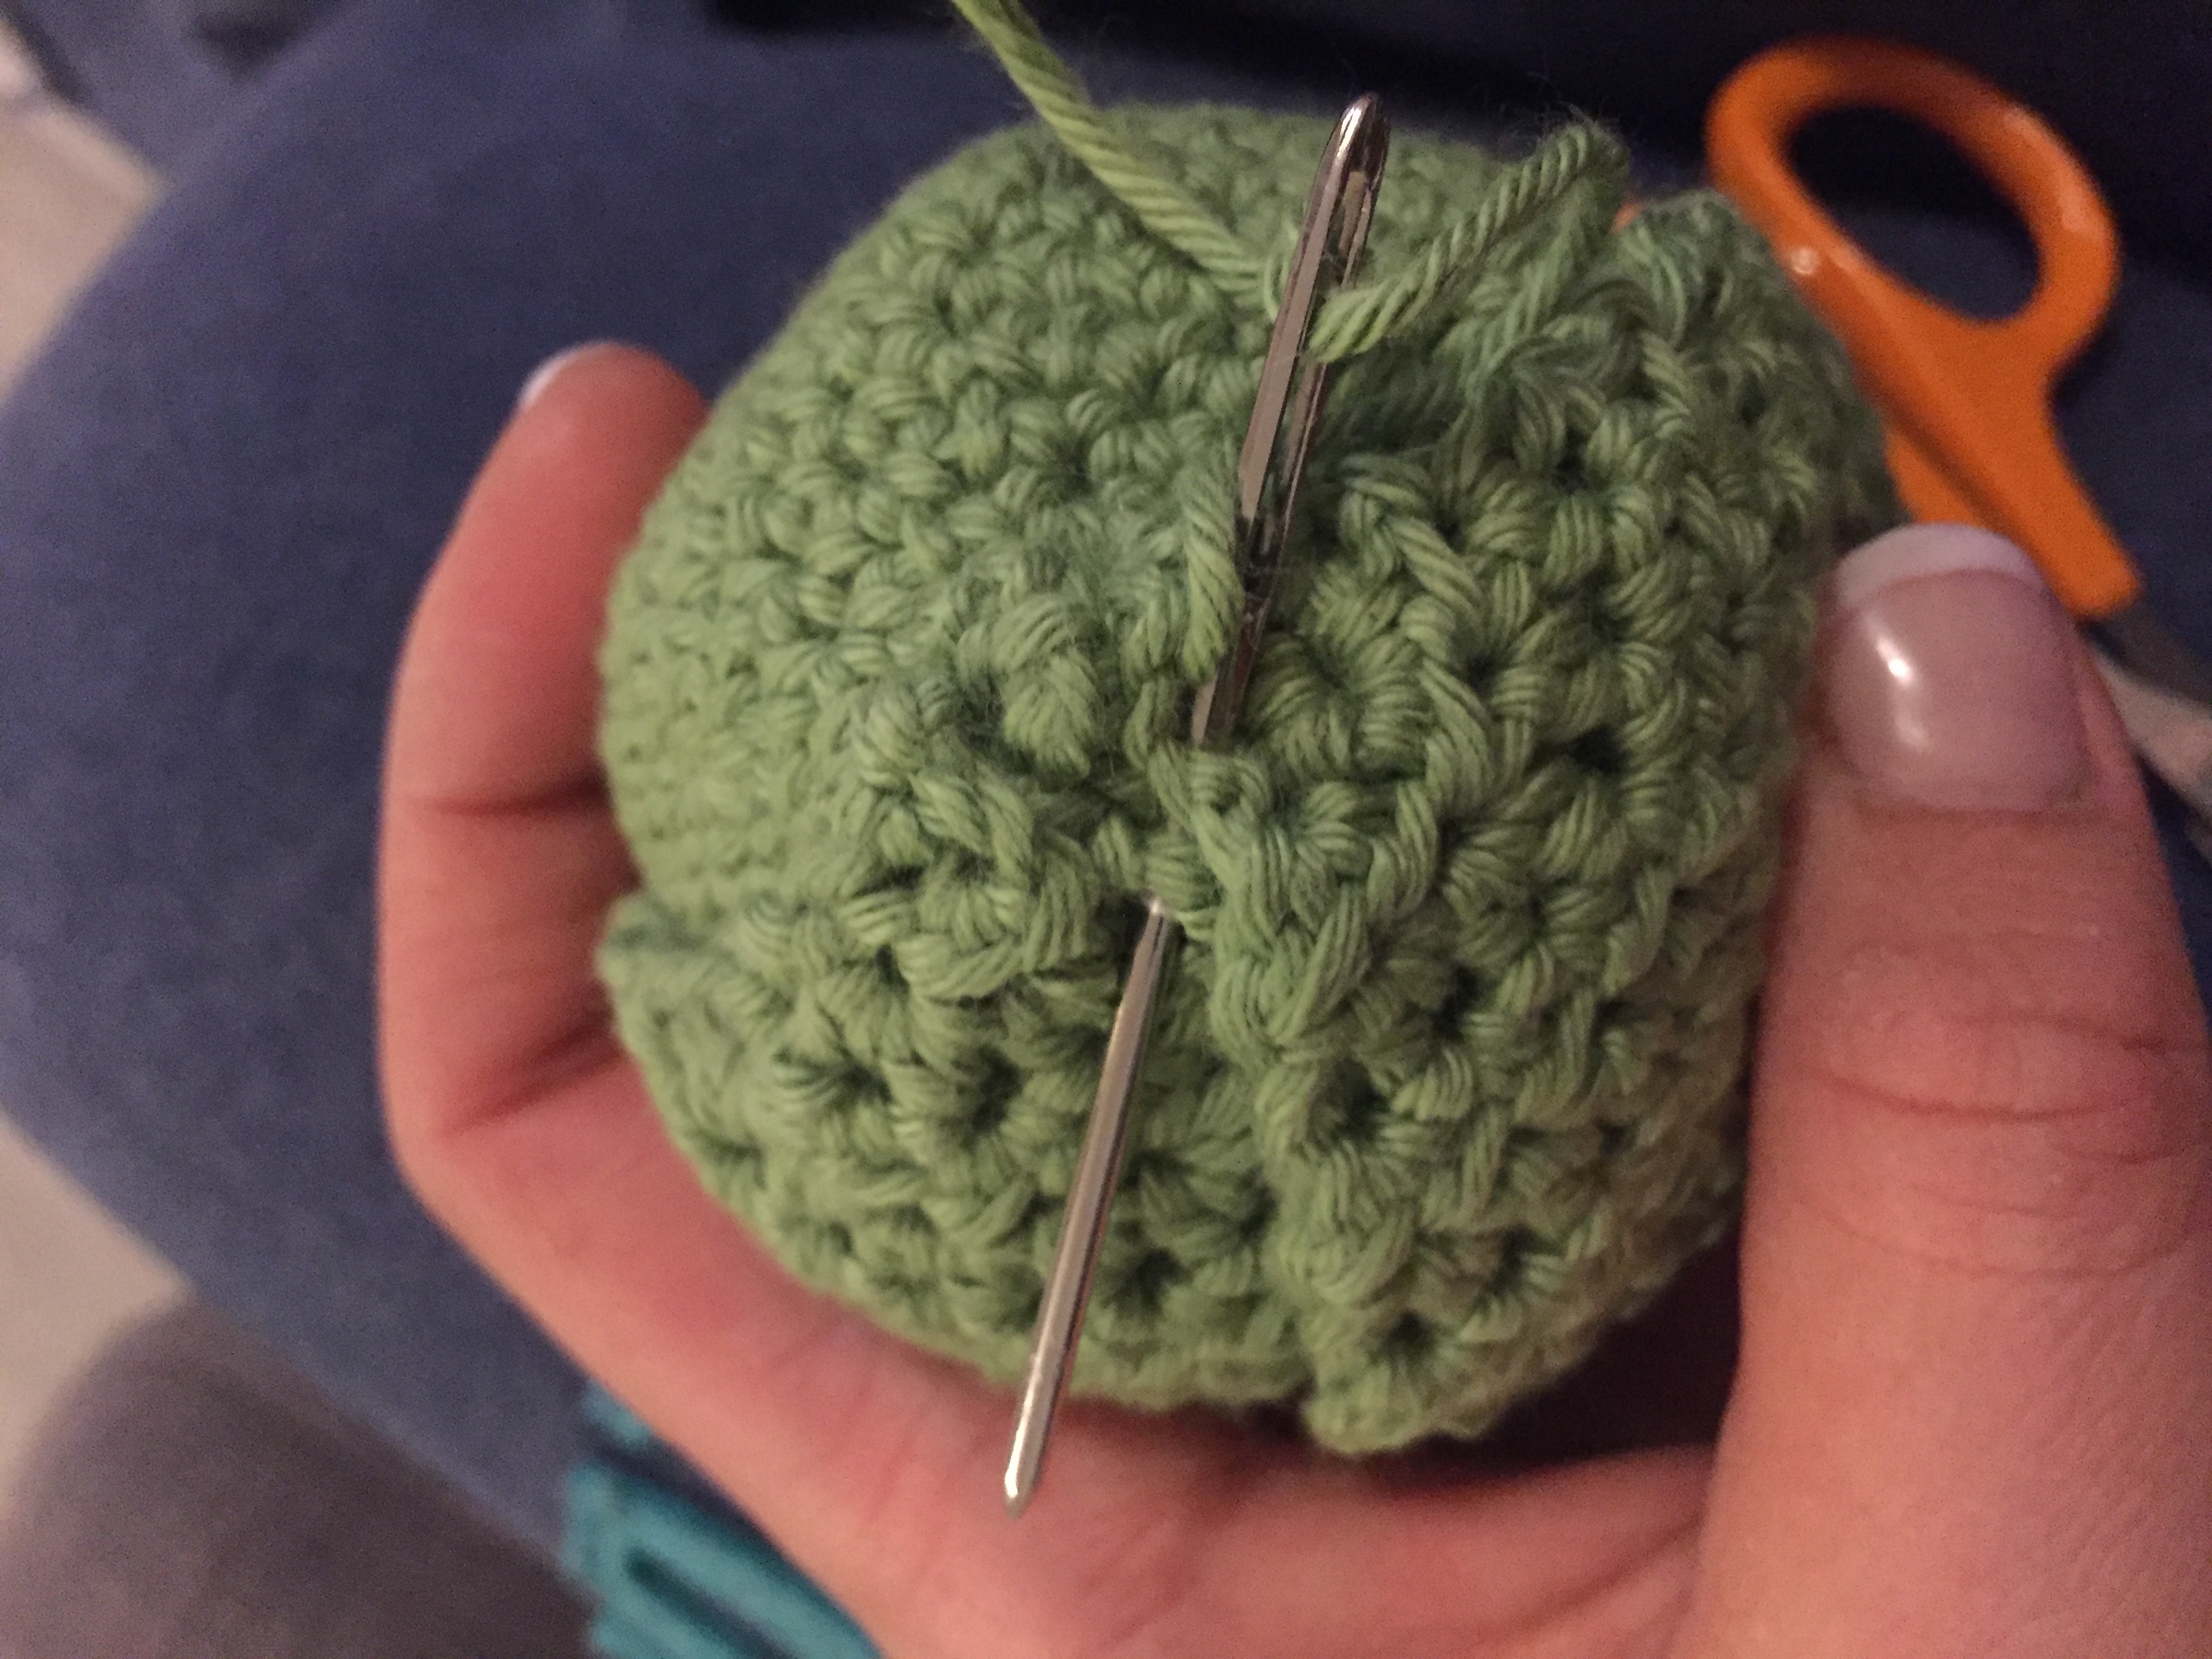
Right so onto the stitch. This week I have chosen a fantastic stitch called the ‘Pineapple Cluster’. It’s such a cool stitch as it’s a little cluster of stitches to make a beautiful little round bump, with a delicate twirl on the top. I really hope you enjoy this one as much as I do. It would be a great stitch to make a baby blanket out of as it give so much texture.

Stitches –

So here’s a bit of a recap on stitches:

Chain (ch) – To make a chain stitch, make a slip knot on your hook and then place the yarn over your hook and pull through the loop. Repeat this action to make a row of stitches.

Pineapple Cluster (Ps) – So *yarn over hook, then insert your hook into the stitch/space, yarn over hook and pull loop through.* Repeat ** 3 more times, then yarn over your hook and pull through the first 8 loops on your hook and then yarn over your hook again and pull through the last 2 loops on your hook. This completes one pineapple cluster.

Treble (tr) – To make a treble crochet, firstly yarn over your hook, insert through space/stitch, yarn over your hook, pull back through space/stitch. There should now be 3 loops on your hook. Then yarn over hook and pull through the first two loops, yarn over hook and pull through the last two loops.

Supplies – 

Ok, so as this blanket is being made with Double Knit wool, you need your 4mm hook, scissors and blunt ended tapestry needle. Your yarn needs to be of double knit weight, but can be any colour or type you like. You roughly need about 40grams.

Here we go …

1 – Insert your hook into the first space and chain 3.


Then work one Pineapple Cluster Stitch into the same space, then chain 1.

For this row you are going to be working your pineapple clusters in the space inbetween the V stitches below.

So to work a pineapple cluster you need to start by *yarn over your hook, then insert your hook into the space, yarn over hook and pull a loop through.* Repeat ** 3 more times.


Then yarn over your hook and pull through the first 8 loops on your hook. You should now have two loops on your hook.

For the last bit of the stitch, yarn over your hook again and pull through the last 2 loops on your hook. This completes one pineapple cluster. Then yarn over your hook again and pull through the loop to make 1 chain stitch.

*Then work a pineapple cluster in the next space in between the V stitches and chain 1.* Continue ** across the row until the last space.  In the last space work 1 pineapple cluster and then 1 treble stitch to finish the row.(100 Ps)

2 – Now turn your work and chain 3. Then work a pineapple cluster in the space in between the tr and ps below and chain 1.

*Then work a pineapple cluster into the next space and chain 1.* Continue ** across the row until the last space. Work 1 treble stitch into the last space in between the tr and ps. (100 Ps)

3 – Now turn your work and chain 3.

Then work 1 pineapple cluster into the first space and chain 1.

*Then work a pineapple cluster into the next space and chain 1.* Continue ** across the row  in each space.

Now work 1 treble stitch into the last space inbetween the ps and tr stitch. (100 Ps)

Now fasten off and sew in your ends using your needle. And there you have it. Well thank you for reading my blog and I hope you have enjoyed this weeks instalment on the Year of the Stiches blanket!! Any questions or queries, just shout. Looking forward to sharing next weeks stitch with you. It’s beautiful!!

Happy hooking everyone!!

🌈Xx

Continue Reading

🎄Super Sprout Pattern🎄

Well hello all. Hoping you have all had a wonderful Christmas day, filled with love, fun & magicalness!! Can’t quite believe it’s already over!! It’s amazing how long we spend building up to the big day and then it’s over in the blink of an eye. It’s all worth it though to see the magic and wonder in our children’s faces and the happy smiles when you give your homemade gifts!!

But I can imagine that many of you are feeling a little low, as if you’ve just run a marathon and now you’re not sure what you should be doing!! You may also be feeling a bit down that Christmas is all over for another year!! Well if anyone is feeling a little sad by it all, then I may have the solution. You can crochet your very own little Super Sprout, to remind you of your happy Christmas Day with that yummy Christmas dinner. And it may also remind you of the conversation about who does and doesn’t like sprouts!! Haha!! I swear every Christmas table must discuss it!! That and what do you put in your Boxing Day sandwich! Now, I may have lost a few of you there, as some people will be like ‘what on earth?!?’ But there will be a few of you that could receit exactly what they have in that once a year special sandwich & to the point of what goes in which layer!! Love it!! (I know I could!!)

Anyways, my little Super Sprout is here to help. He will definitely brighten up your day and be all ready for next year’s Christmas!! I’m sure you are wondering why I even came round to crocheting a Sprout, well here’s how.

The other day we were in the supermarket, getting our big Christmas shop and we spotted a lowly little Sprout all by itself on the floor. It was nowhere near its little friends! My daughter immediately said it must have been a Super Sprout, that spends its evenings keeping the naughty peas in check in the supermarket. “It’s just like in the book!” She squealed!! She was referring to the Supertato book that they had read in Reception as a class.


The super potato basically saves the vegetables from a naughty pea that escapes from the freezer and causes havoc!!! She then insisted that I must crochet one and that I could put it on my blog! So without further a do. May I present Super Sprout. (You have to admit, he’s rather sweet!) He’s been snuggled up in my daughter’s bed since Christmas morning!! Anywho, back to crocheting. Right usual information on stitches here and supplies and then the pattern. Photos are on the go, so hope they all make sense. I only had a day to make him. So it was a bit of a quick one this one. She definitely loved finding him under the Christmas tree.

Stitches

Slip stitch (ss) – This is where there is no height to the stitch. It’s usually used to join rounds. So insert the hook into the front of the stitch you are joining to. This is usually the first stitch you made in that round/row. So yarn over hook and pull through that first stitch then also through the loop on your hook.

Double Crochet (dc) – Insert the hook through the stitch, front to back, then yarn over hook and pull back through stitch. You will have two loops on your hook. Then yarn over your hook and pull through both loops.

Double Crochet Decrease (2dctog) – This is where you crochet two stitches together to decrease the amount of stitches in the round. So insert the hook through the front of the first stitch only (the front V) and then insert again through the front of the second stitch (the front V). Now yarn over your hook and pull it back through both stitches, so you will then have 2 loops on your hook. Yarn over your hook again and pull through both loops. And there is your 2dctog. (Basically 2 double crochet stitches crocheted together.)

Treble (tr) – To make a treble crochet, firstly yarn over your hook, insert through space/stitch, yarn over your hook, pull back through space/stitch. There should now be 3 loops on your hook. Then yarn over hook and pull through the first two loops, yarn over hook and pull through the last two loops.

Half treble (htr) – A half treble crochet is basically one less movement than a treble. So yarn over hook, insert through space/stitch, yarn over hook, pull back through space/stitch. There should be 3 loops on your hook. Then yarn over hook and pull through all 3 loops.

Double treble (dtr) – A double treble is quite a tall stitch. So yarn over hook twice, insert hook through the stitch/space and then yarn over hook again. Now pull the yarn through the stitch. There will now be 4 loops on the hook. Now place the yarn over the hook and pull through the first 2 loops. Then yarn over the hook again and pull through the next two loops. Haha, now place the yarn over the hook again and pull through the last 2 loops. Phew! It’s a bit of a long process, but a lovely stitch with the height that it gives.

Supplies

So for Mr Super Sprout you will need some green yarn, I have used stylecraft cotton, but you can use wool or any green yarn really. Some scissors, a blunt ended tapestry needle, some toy stuffing and little bit of black yarn for the face. Oh and I nearly forgot a 3mm and a 4mm hook. The 3mm hook is for the body and the 4mm hook is for the leaves.

So here we go…

Body – use a 3mm hook with your green yarn. You are working in the round for the body.

1 – Make a magic ring, chain 1, then dc6 into the ring. Then pull the tail tight to create the first round. (6)

2 – *2dc into each stitch.* Work ** 6 times. (12)

3 – *1dc, then 2dc into each stitch.* Work ** 6 times. (18)


4 – *2dc, then 2dc into each stitch.* Work ** 6 times. (24)

5 – *3dc, then 2dc into each stitch.* Work ** 6 times. (30)

6 – *4dc, then 2dc into each stitch.* Work ** 6 times. (36)

7 – *5dc, then 2dc into each stitch.* Work ** 6 times. (42)


8 – 13 For each round, 1dc in each stitch. (42)

14 – *5dc, then 2dctog*. Work ** 6 times. (See stitches explanation above if you are unsure of 2dctog.) (36)

15 – *4dc, then 2dctog* Work ** 6 times. (30)

16 – *3dc, then 2dctog. Work ** 6 times. (24)

17 – *2dc, then 2dctog.* Work ** 6 times.(18)

18 – *1dc, then 2dctog.* Work ** 6 times.(12)

Now it’s time to stuff your body with toy stuffing,

19 – Work 2dctog 6 times (6)

Now sew up and fasten off your body using a blunt ended tapestry needle. You will notice that it gives a little bit of a point. This is where you can attach the base of your 4 leaves to.

Leaves – use a 4mm hook with your green yarn. Make two of each size. (Two small and two large.) For all of the leaves you are now working in rows and not rounds.

For both leaves –

1 – Make a slip knot on your hook and chain 4.

2 – Now work a htr into the third stitch from the hook and another htr into the next stitch from the hook. Turn your work now, so that you can crochet back along the row. (2)

3 – In this row, chain 2 and work 2htr stitches into each stitch and turn your work. (4)

4 – Then chain 2 and *work 1htr into the same stitch, then 2htr into the next stitch.* Repeat ** twice and then turn your work. (6)

5 – Then chain 2 and *work 2htr, then 2htr into the next stitch* Repeat ** twice and turn your work. (8)

6 – Now chain 2 then *work 3htr, then 2htr into the next stitch.* Repeat ** twice and turn. (10)

7 – Now chain 2 and then work *4htr, then 2htr in the next stitch.* Repeat ** twice and turn your work. (12)


Now make two small leaves:

8 – 9 For each row, chain 2 then work 1htr into each stitch and turn. (12)

Now make two large stitches:

8 – 11 For each row, chain 2 then work 1htr into each stitch and turn. (12)

Now the next two rows are the same for both the small and the large leaves. So you are either on round 10 for the small leaf or round 12 for your large leaf.

– Slip stitch into the first stitch, dc, htr, tr, tr, dtr, dtr, tr, tr, htr, dc then lastly a slip stitch. Then turn your work. (12)

– For the last row, miss the first stitch then slip stitch into the next stitch, then dc, htr, tr, dtr, dtr, tr, htr, dc, then miss a stitch and slip stitch into the last stitch and fasten off. (10)

Right so this is what you should now have in front of you. One round ball, two large leaves and two small sprout leaves.

Now it’s time to sew the Sprout leaves in place. So start off by using the tail from the base of the leaf. So find the tip of the Sprout ball (its slightly raised) and using a blunt ended needle, sew on the first leaf base and fasten off. You will only be able to sew on the base as your tail of yarn is quite short.

Now move to the top of your sprout and using the top tail sew on the sides on the leaf but not the top.

Leaving the top part free, allows the leaf to have some movement.


Then carry on adding the other 3 leaves in the same way.


And now for the fun part. The eyes, eyebrows and smile. You need your black yarn, needle and scissors. (Don’t forget you can make the expression anyway you like.)

For the eyes. Attach by knotting one end and threading it through a gap in between a stitch at the back of the body. This will hide the end. Now pull the needle through where you would like the eye to be. I tend to sew over one stitch to make the eye and sew over this stitch about 5 times. You can add eyebrows in the same way but with one stitch. I love the simpleness of the eyebrows. They can make such a difference to a face!!


For the mouth. Pull the yarn through where you would like the mouth to start then thread back through where you want the mouth to finish. Now here’s the tricky part. You now need to anchor the mouth in the middle to make it a smile. So simply push the yarn back up in the middle of the mouth by one stitch lower, go over the top of the mouth, then back through the same stitch. This will give you the smile. Again simple, but effective.

And there you have it – one little Super Sprout to keep you feeling that little bit Christmassy. I was thinking today, you could make a whole family of sprouts or even crochet them some Santa hats!! Proper cute.

Well I hope you have enjoyed my post. As always, if you have any questions or queries at all, please don’t hesitate to ask!! Looking forward to seeing all other little sprouts made – don’t forget to share your little fellas on here or on instagram/facebook by linking it to  #pipsrainbow

Happy hooking everyone!!

🌈 Xx


Continue Reading